Learn how to progress from a skidded parallel to a carved parallel turn with fully BASI qualified Maison Sport instructor Lizzy B. This tutorial is suitable if you find yourself skiing skidded turns, with your heels twisting out and your skis pivoting, and your edges may only be engaged towards the end of the turn. Lizzy talks us through 4 drills to try to progress from this skidded parallel turn to more of a carved parallel turn.
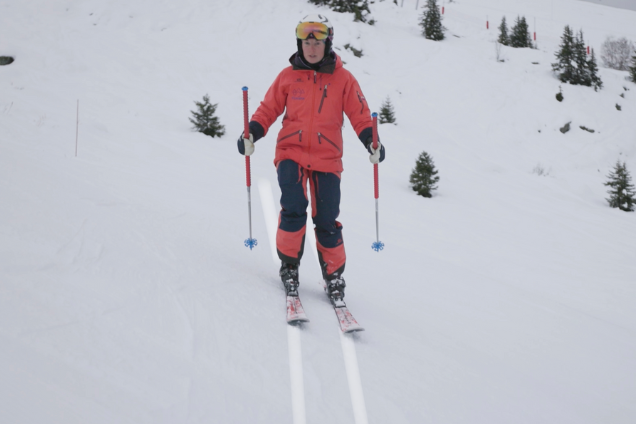
Drill 1: Traversing Drill
- To start, look up the hill to make sure it is safe to go (as you will be traversing across the width of the slope), then just let the edges dig into the snow as you traverse across the hill.
- When you roll your knees and ankles into the slope, you should feel pressure on your little toe on the top leg and big toe on your bottom leg, as you let the edges dig into the snow as you traverse across the hill.
- Make sure you are feeling the edges bite into the snow and cut through. You will be able to get this feeling without picking up too much speed when you are traversing across the hill rather than down.
- Try to remember the sensations of the skis digging into the snow for the next drill.
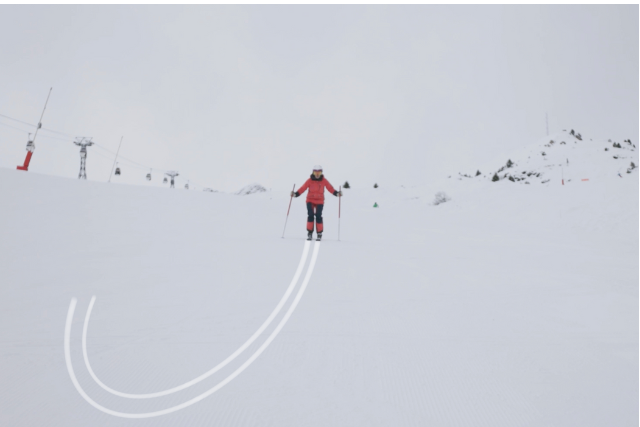
Drill 2: J Turns
- A ‘J turn’ is where you make one individual turn that makes a shape of a J using just your edges and then stop at the end of the J.
- For this turn, start by pointing your skis straight down the fall line then, rolling your ankles and knees, put your skis on the edge and let the side cut of the ski take you across the hill.
- The more pressure you put on the ski, the tighter the turn will become. It is a really good drill to practice using the ankles and the knees to edge the ski – this is what we want to do when we’re carving.
- It is really important to practice these turns in both directions.
Drill 3: Railroads
- The aim here is to just use the edges of your skis, so choose some nice easy terrain because you’re not coming across the hill it means you’ll start to pick up speed quite quickly.
- Aim for 6 or 7 of these turns then coming to a stop and retting, all you’re trying to do is roll from the ankles and knees.
- You want to make sure there is an even gap between the ankles and knees so the skis are doing the same thing and being put on the same edge angle.
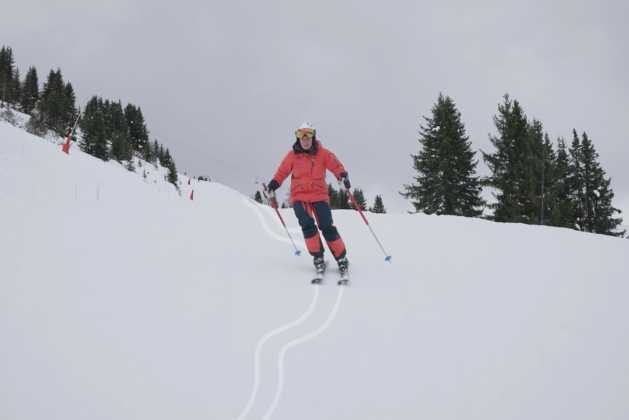
Drill 4: C-Shaped Railroads
- The next stage is to take the railroad turns and make them more C shaped so you come across the hill a lot more and can stay in control and keep your speed down.
- In comparison to the rail road turns you want to hold the edge angle for longer so the ankles and knees roll into the slope. You let the skis bite and come across the hill.
- By coming across the hill you are able to manage your speed so you don’t pick up too much speed and have the tendency to twist your feet.
To conclude…
- The best place to develop your carving is on easy terrain. Once you’ve cracked it you can take it slightly steeper and see if you can still hold it there.
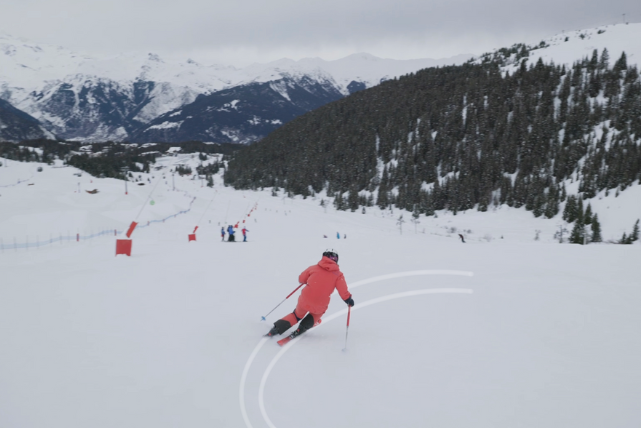
- A great way to tell if you’re carving is to look up at your tracks in the snow. If you’ve got two clean tracks in the snow you’ve nailed it!
Book a lesson with Lizzy B. on Maison Sport today to learn more!