One of the most important aspects of ski tuning is edge sharpening. Sharp ski edges improve your grip, stability and control, especially on icy or hard-packed snow.
While many skiers rely on shops for ski tuning, sharpening your edges at home is easier than you might think and gives you far more control over how your skis perform. In this guide, in collaboration with Sidecut Tuning, we walk through a simple, effective method for sharpening your ski edges safely and accurately at home.
Why Sharp Ski Edges Matter
Sharp edges improve grip, stability and confidence, particularly when conditions are firm or icy. If your skis feel like they’re slipping at the start of a turn, dull edges can be the culprit. Regular edge maintenance keeps your skis responsive and ensures consistent performance, making turns smoother and skiing safer.
How Often Should Ski Edges Be Sharpened?
The frequency of ski edge sharpening depends on your skiing style, the conditions you usually ski in and how often you hit the slopes.
- Casual Skiers: If you ski a few times per season on groomed slopes, sharpening your edges once or twice a season is usually sufficient.
- Intermediate to Advanced Skiers: Skiers who carve aggressively, ski on icy or hard-packed snow, or ski frequently should check and sharpen edges every 4-6 days on the mountain or at least every few weeks during the season.
- After Damage or Rust: Any time your edges become noticeably dull, chipped, or rusted, sharpen them immediately to maintain control and prevent further damage.
Tips to Know It’s Time to Sharpen Your Skis:
- Skis feel “slippery” or lose grip on hard snow.
- Turns feel imprecise or wobbly.
- You see visible rust or burrs along the edges.
Understanding Your Ski Edges: Base Edge vs Side Edge
Before you start sharpening, it’s important to understand the two types of edges on your skis:
- Base Edge: This is the part of the edge that runs along the bottom of the ski, contacting the snow when the ski is flat. Sharpening the base edge is key for maintaining smooth turns and controlling glide, especially at higher speeds.
- Side Edge: This is the vertical edge on the side of the ski. Side edges are crucial for grip and carving on hard-packed or icy slopes. Properly tuned side edges give you precision when initiating and finishing turns. Side edges typically require the most maintenance.
Ski edge angles are set by the manufacturer for the best performance for that ski, so it’s important to know these before sharpening your ski edges.
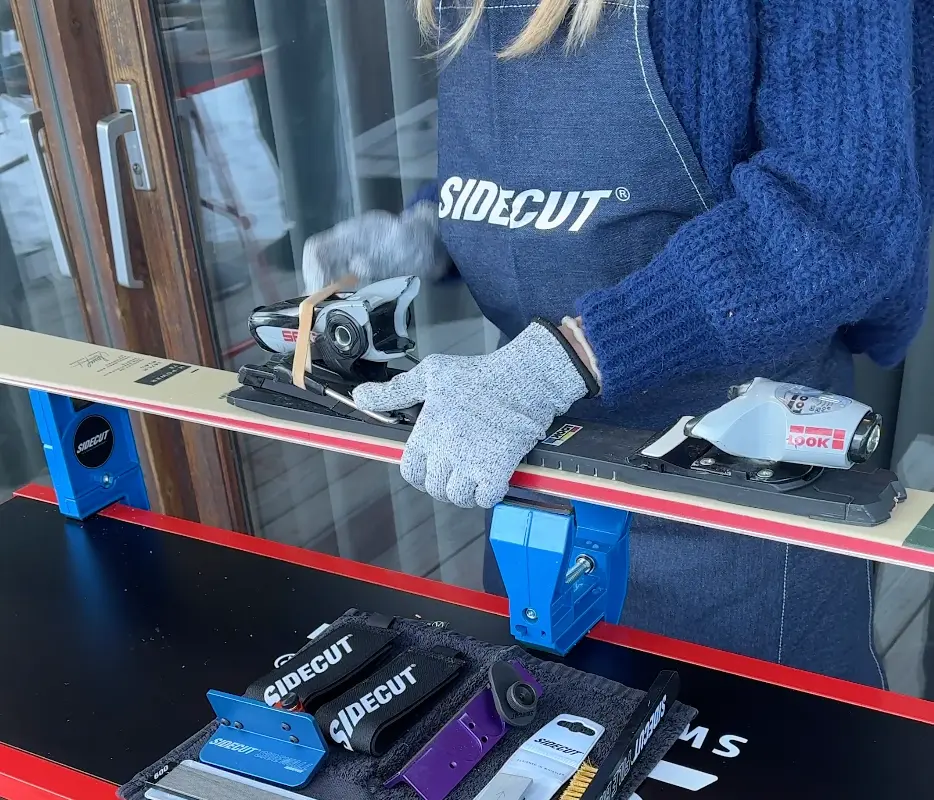
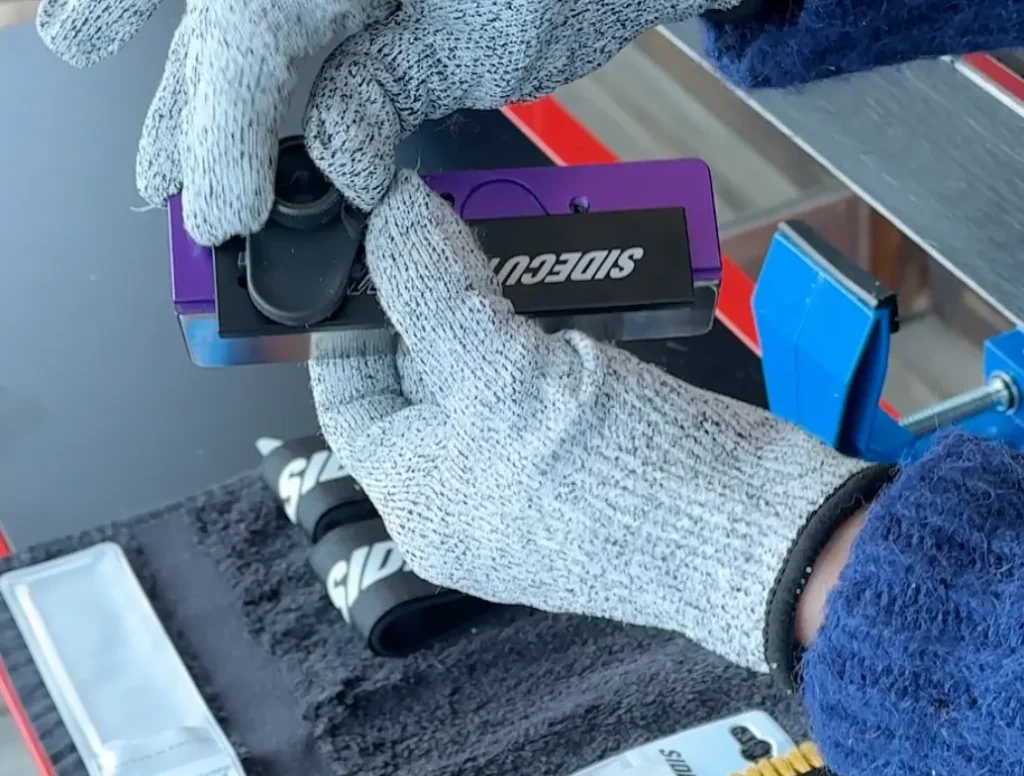
Equipment needed to sharpen your ski edges
- Sidecut sidewall remover with a circular blade
- 2-degree file guide (sometimes known as 88 or 92 degree)
- Metal file
- Diamond file
- Set of ski vices
- Elastic break retainer/heavy rubber band
- Protective gloves
Recommended starter kit: Sidecut Intro Tuning Kit
How to Sharpen Your Skis With a Ski Sharpening Tool
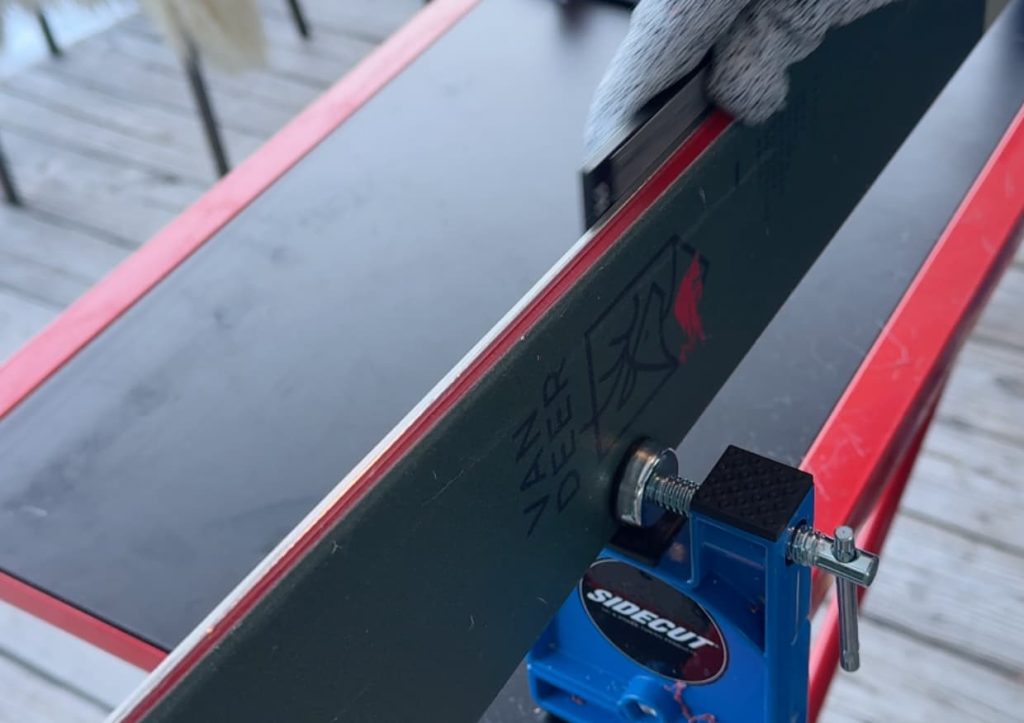
Step 1: Set up Your Ski

- Use an elastic retainer to pull the ski brake up and out of the way.
- Clamp the ski securely in ski vices.
- Position the ski with the bindings facing towards you.
- A solid setup is essential, as movement during sharpening can lead to uneven edges or accidental damage.
Step 2: Remove the Sidewall
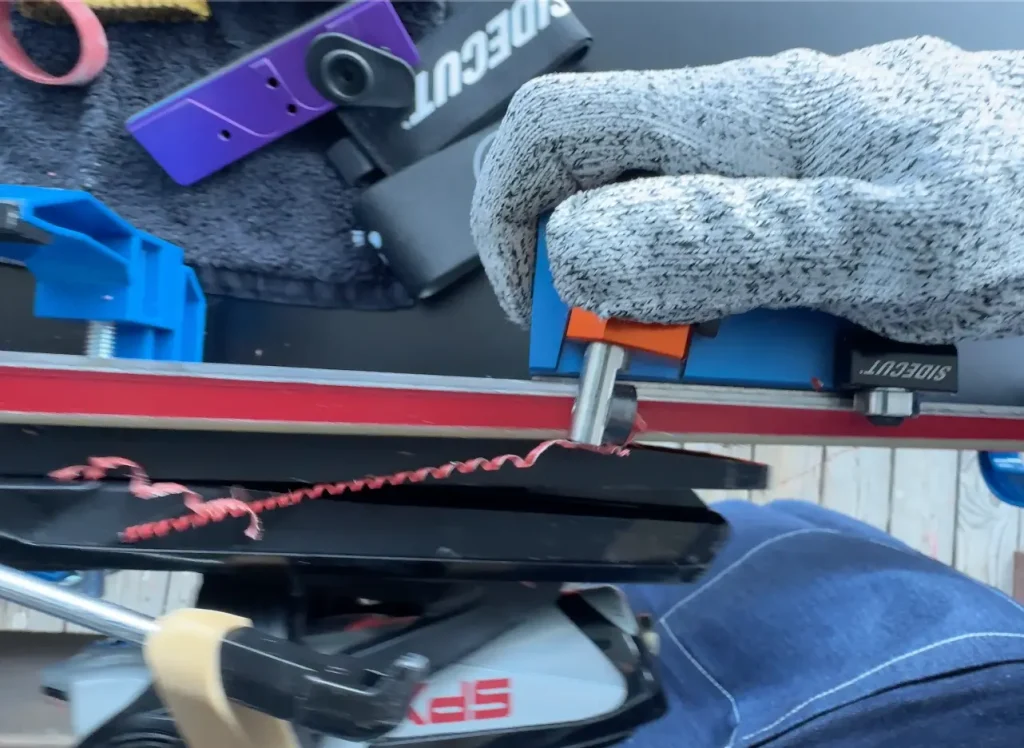
- Before sharpening the metal edge, you’ll need to clear away any sidewall material that might block your file.
- Use a Sidecut sidewall remover with a circular blade.
- Pull the tool gently along the edge towards you.
- Apply light, consistent pressure.
- This step is crucial: if the sidewall interferes with the file, you won’t properly sharpen the steel edge, no matter how many passes you make.
Step 3: Sharpen the Side Edge
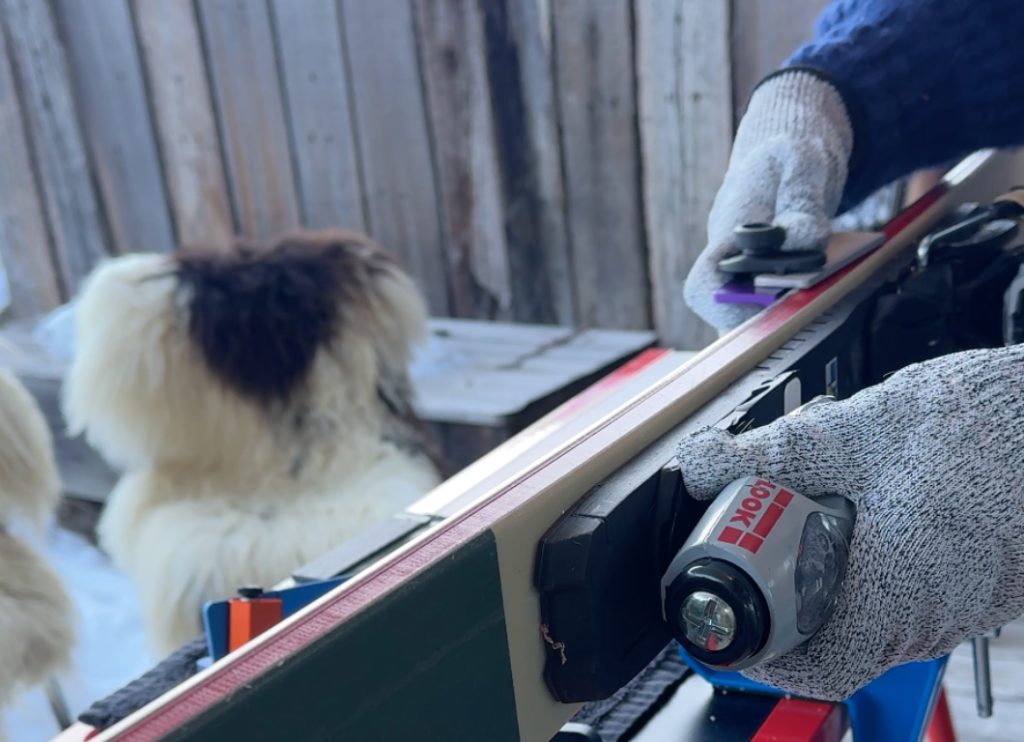
- Secure a metal file into your file guide. We’re using the 2-degree Sidecut guide.
- Ensure the arrow on the file points towards you.
- Make five to six firm, smooth passes along each section of the side edge.
- Work tip to tail, keeping pressure consistent. Between skis (and occasionally during the process), clean the metal file to remove built-up filings. This keeps the cut clean and accurate.
Step 4: Smooth the Side Edge
- After filing, the side edge will be sharp but slightly rough.
- Replace the metal file with a diamond file in the same guide. We like to use a 600 grit for this.
- Run it along the edge two to three times.
- This removes small burrs and smooths the edge
- This step improves glide and helps the edge stay sharp for longer.
Step 5: Smooth the Base Edge
- Using the same diamond file, gently run it along the base edge
- Use light pressure, you’re polishing, not reshaping
- Focus on consistency rather than force
- This ensures the base edge is clean and free from burrs that could catch on snow.
Step 6: Repeat and Finish
- Sharpen the left and right side edges and smooth the base edge of each ski.
- Take your time, precision matters more than speed.
- Once complete, your skis should feel noticeably sharper and smoother underfoot.
Why Should You Sharpen Your Own Ski Edges?
Sharpening your own ski edges is a great skill to learn. Not only does it save time and money, but it also gives you control over how your skis behave in different conditions. With a small set of tools and a bit of practise, you’ll be able to keep your skis performing at their best all season long.
Ready to sharpen your skis like a pro? Get the complete Sidecut Tuning Intro Kit with all the tools you need for DIY ski edge sharpening at home.