If you can comfortably link your snow plough turns on easy terrain, it’s time to level up your skiing and start skiing parallel!
Though it may seem tricky at first, once you’ve got the hang of it, parallel skiing will allow you to feel more in control, build speed and tackle more difficult terrain.
Aaron T, BASI Level 4 Qualified Ski Instructor and Co-Founder of Maison Sport, shares his top tips to help you quickly progress from snow plough to parallel skiing:
Step 1 – Bow Tie Drill (Stationary)
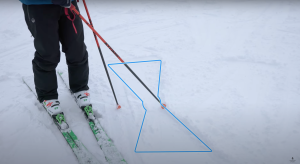
The first step is to practise rotating your skis inwards and outwards, pivoting from the toe. This rotation is very similar to the movement needed when transitioning from skiing snow plough to skiing parallel at the end of a turn.
Start with your left foot and angle your ski inwards then outwards, keeping the front of your boot fixed in the same place. Then try the same on the other leg. If done correctly, this should leave an indent in the snow in the shape of a bow tie – hence the name of the drill!
Practise this drill on a flat area so that your skis don’t slide away from you!


Step 2 – Bow Tie Drill (Skiing)
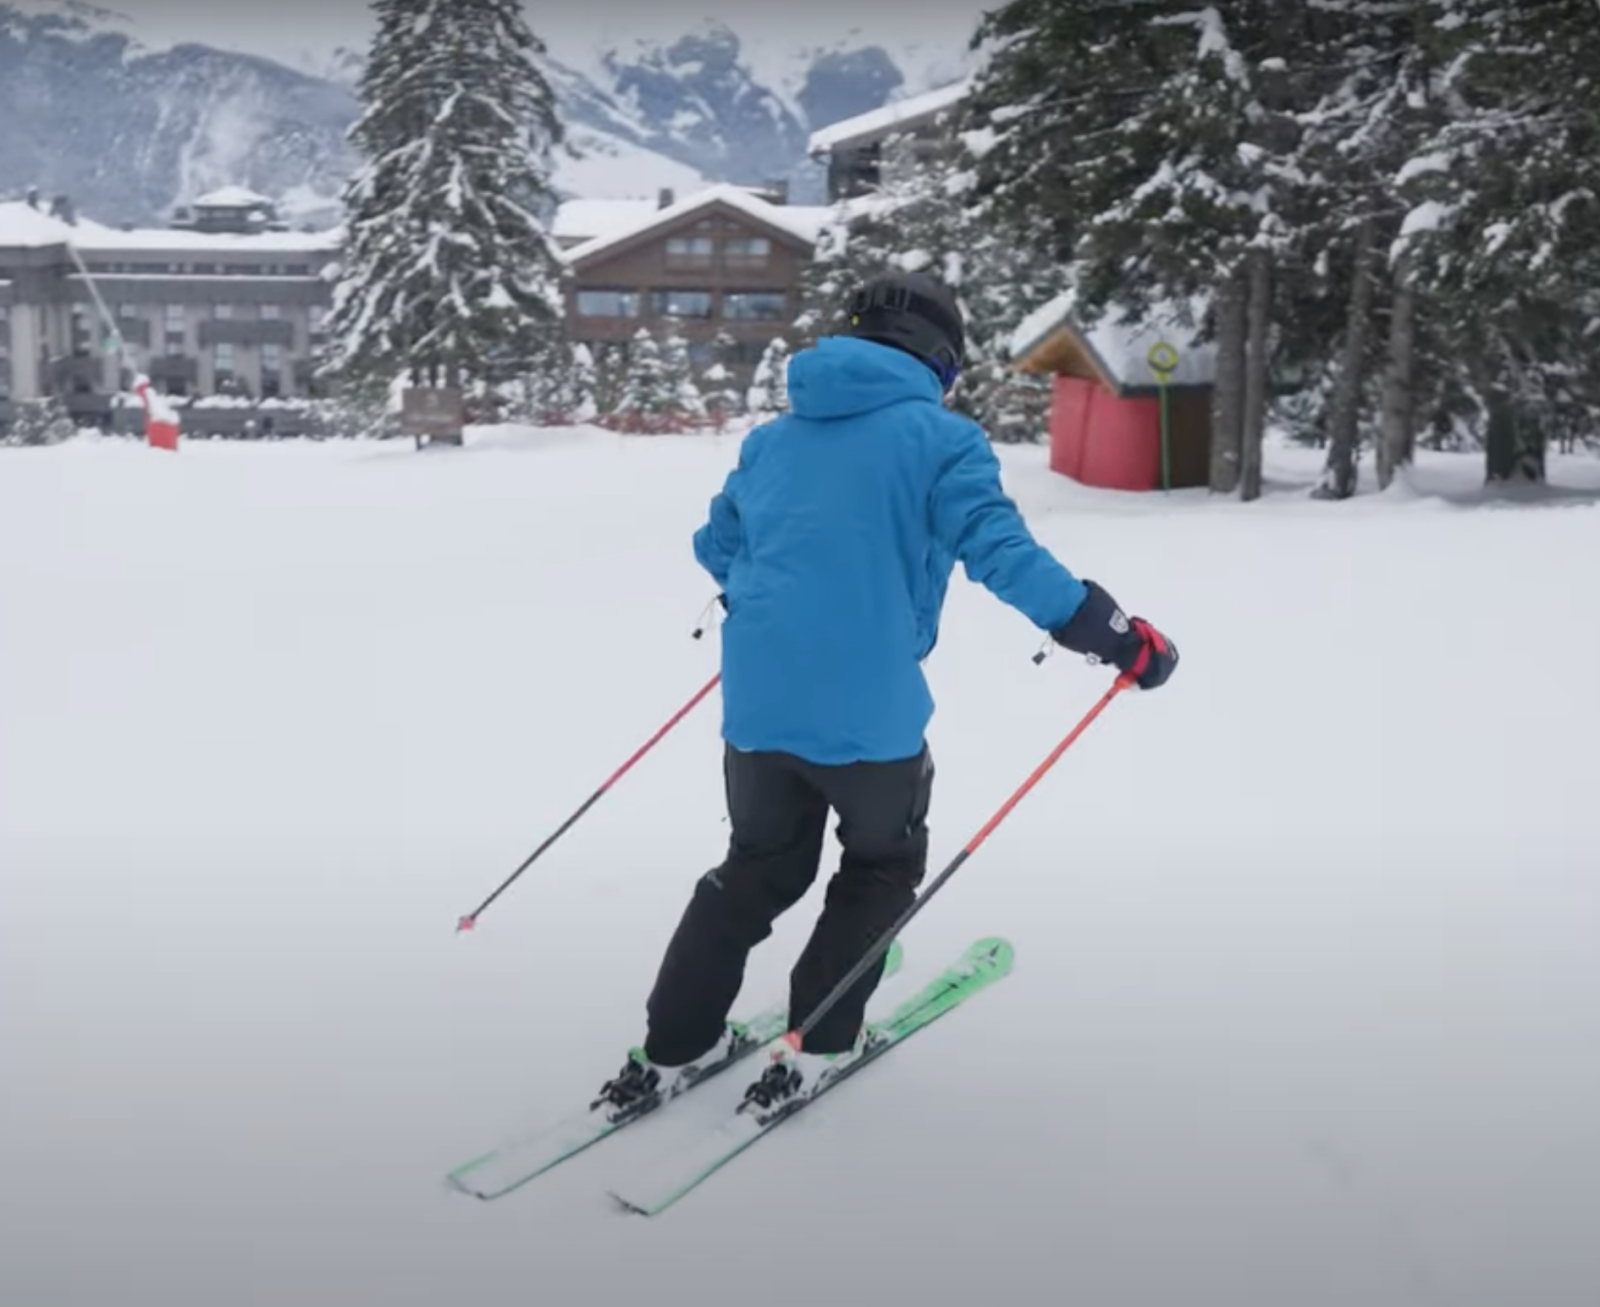
Once you’ve got that movement perfected and the bow tie looking sharp, it’s time to try the bow tie drill on the move.
This drill will help you get used to the feeling of skiing parallel and practise going from being on both of the inside edges in a snow plough to transitioning through a flat ski and being on one inside edge and one outside edge in parallel.
Start in snow plough and begin executing your turn as normal. Then, at the very end of the turn, implement the bow tie movement that you practised earlier, straightening your inside ski by pivoting from the front of the foot. You should end the turn in parallel!
Keep practising this movement across the slope so that you get comfortable with the feeling of skiing in parallel.
Step 3 – Inside Ski Tap
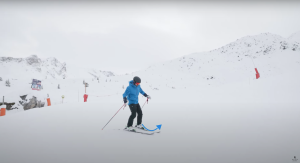
If you are struggling to finish the turn with your skis in a parallel position, a great drill to help you perfect the movement is to tap the inside leg.
Start your turn as normal in snow plough, then at the very end of your turn take the weight off of your inside leg. You should then be able to lift your inside leg slightly and tap it until you find that nice flat parallel position.
Keep practising this drill until you feel confident – then give the bow tie drill another go!
Step 4 – Narrow Snow Plough
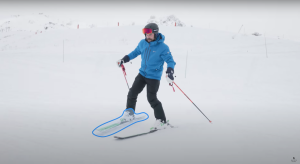
Once you are feeling confident skiing in parallel at the end of the turn and on the traverse, try to narrow your snow plough. This means the inside leg will have to rotate far less to reach the parallel position.
Make sure that you are doing nice wide, controlled turns as narrowing your snow plough will make you pick up more speed! We recommend practising this drill on gentle terrain at first.
Remember to keep your weight over the outside leg on your turns, as this will make it much easier to rotate the inside ski.
Step 5 – Go Parallel Earlier in the Turn
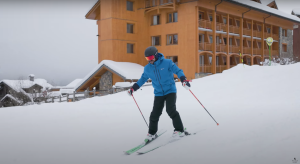
Once you’ve mastered these drills, the final progression is to match your skis to parallel as early in the turn as possible.
Start with a narrow snow plough at the beginning of the turn, then, when you feel confident enough, try to stay in parallel for the entire turn by rotating both skis at the same time.
Balance over the outside ski as early as possible to help you angle your skis on the turn. Make sure that the inside knee is rolling in towards the slope so that you create the same edge angle on both skis.
The more you practise, the more natural it will feel – until you won’t even remember what it was like skiing in snow plough!
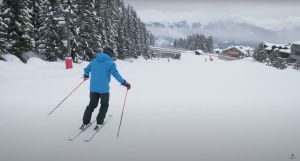
Watch the Full Video Over on Our YouTube:
Click below to watch the full video and see Aaron demonstrating these top tips.
Try it Out on the Slopes!
It’s tricky at first, but if you follow these top tips you’ll be skiing parallel in no time!
Book a lesson with an expert instructor to help you progress to parallel skiing today.
You might also like: 3 ways to improve your skiing on your own
